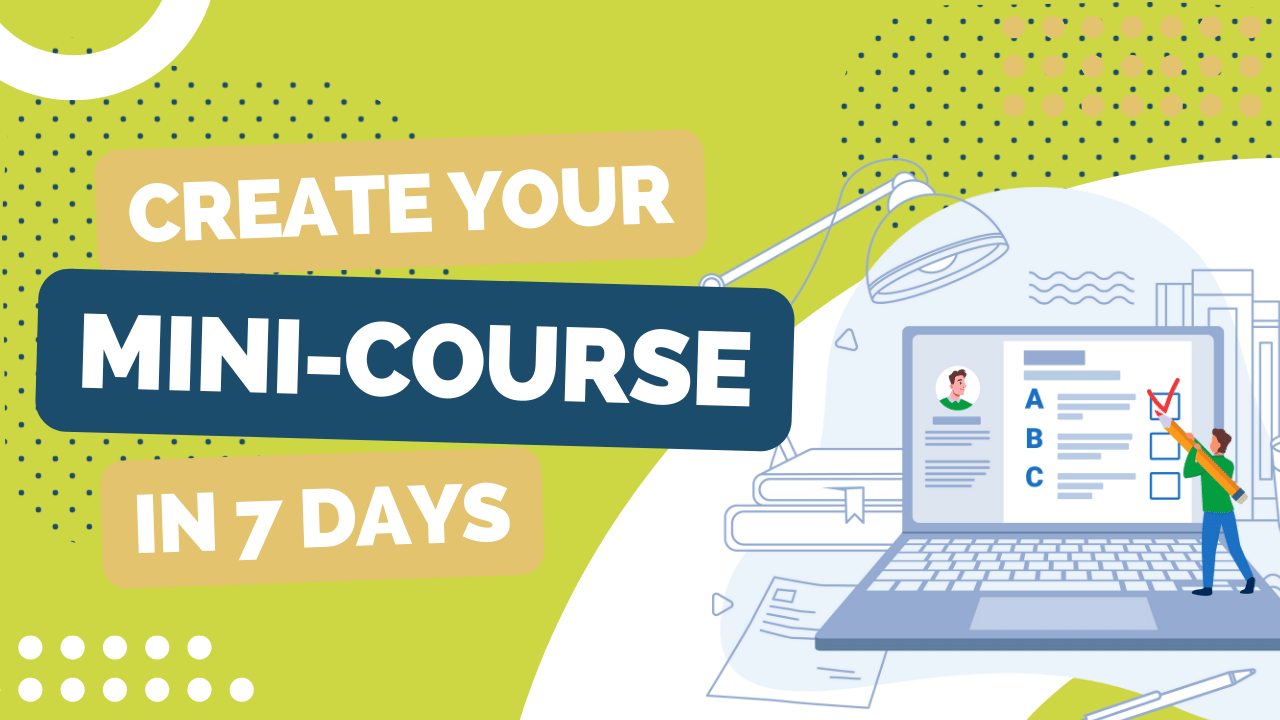
Create Your Mini Course (aka tiny offer) in 7 Days
In Part 2 of Launch your Online Course Business (in 30 days or less), I walked you through the differences between a mini course (aka tiny offer), a subject matter course and a signature course.
A mini course (aka tiny product or starter course) is something that would be considered a no brainer type offer.
I love mini courses because they give you the momentum to get started in your online course business.
Many entrepreneurs get stuck in the analysis paralysis mode and have difficulty getting their online course business off the ground.
I’ve found that it’s easier to create a mini course than a high-end premium offer where you may spend months (even years) creating the content and making sure you have the perfect signature offer.
Also, with a mini course, you can use it as a tripwire to gain an instant customer and it can help fund or even cover your ad costs.
But, most importantly, a mini course can serve as a starting point for your students and gives them a taste of what it’s like to work with you so you can upsell your services or future courses.
Create Your Mini Course in 7 Days
Day 1: Discover Your Profitable (Mini) Course Idea
Mini courses help your students get started. For example, in my own business, I focus on helping online course business owners sell their online course using online sales funnels and Facebook and Instagram ads.
However, I found that many people who were coming to me to create a list building ad campaign needed help with creating a lead magnet that was worthy of a Facebook ad.
So, I decided to create a mini course to help them with this step.
Another example in my business is my Ad Starter Kit.
This is a mini course (I also use it as a tripwire) that walks you through creating your first ad campaign with some templates to help you get started. This feeds into my Funnel Fill Up program which is an in-depth course designed for online course creators in filling up their funnel with Facebook and Instagram Ads to sell their online course.
To discover your profitable mini course idea, think about what you could offer to kickstart your students’ momentum. What is keeping them from moving forward?
In the two examples I provided above, because my clients wanted to run a list building Facebook ad, but didn’t have a lead magnet that would be great for an ad campaign, my Magic Attraction mini course was a perfect tiny offer.
In my other example, my students want to dip their toes in Facebook ads, but didn’t know where to start. My Ad Starter Kit is perfect for them to walk through exactly how to create their first ad campaign.
If you’re stuck on your topic for your mini course, answer this question:
What’s keeping my students from moving forward?
Once you’ve determined this, you have your course idea for your mini course.
Day 2: Create your Course Outline
This step is action oriented so get a piece of paper and a pen or a Google docs before you start!
At the top of your paper, outline your promised transformation. This is the result that your students will accomplish after completing your course.
For example, in Magic Attraction the promised transformation is that my students will create a lead magnet that’s worthy of a Facebook ad so they can attract action takers and not freebie seekers.
Next, I want you to brainstorm content ideas for your course.
It’s important to keep in mind that this is a mini course. You should be laser focused on one topic and your promised transformation.
This is not the time to teach them everything you know. It’ll overwhelm your students and affect their success.
For instance, most of my mini courses are only three to five lessons.
In addition to the lessons, I have supplemental resources like workbooks, checklists or cheatsheets.
I may also have sections that include a tech library or how to resources.
I also recommend you brainstorm what bonus material you can include to help sell your mini course.
Bonuses are great selling features, but keep in mind bonuses should not be required to achieve your promised transformation. They are above and beyond resources that helps your audience take their learning to the next level.
For example, in my Magic Attraction mini course, I have two main bonuses.
How to Create a Tripwire (so you can gain instant customers and fund your Facebook ads)
7 Proven Ways to Grow Your Email List (without spending a dime)
Both bonuses help my students achieve some awesome results, but if I didn’t include this content in the mini course, they would still achieve the transformation I promised them.
A simple way to create your course outline for a mini course looks like this:
Promised Transformation: List your promised transformation here
Course Outline
Lesson 1: Topic
· Supplemental resource (e.g. workbook, cheat sheet or checklist)
Lesson 2: Topic
· Supplemental resource (e.g. workbook, cheat sheet or checklist)
Lesson 3: Topic
· Supplemental resource (e.g. workbook, cheat sheet or checklist)
Lesson 4: Topic
· Supplemental resource (e.g. workbook, cheat sheet or checklist)
Lesson 5: Topic
· Supplemental resource (e.g. workbook, cheat sheet or checklist)
Additional Resources (if applicable)
· List any additional resources here
· List any additional resources here
Bonuses!
· List Bonus #1 here
· List Bonus #2 here
· List Bonus #3 here
Day 3: Build Your Slides
If you’re teaching how to use a software or app, in this step, you will outline exactly what you will cover in your screen share when you record.
If you’re new to building presentations, I recommend that you start with Canva. You can make a beautiful and engaging presentation in Canva with their free account. You can create your lesson presentation in Canva and use this to record your course videos with your voice over.
You don’t have to be a designer to use Canva for your course slides. In fact, with the template I’ve provided you can just plug in your content, modify for your branding and you’re good to go!
Here are some tips for creating your slides for your lessons:
When you’re adding text, be short and to the point. You don’t want paragraphs of information on your slides. That’ll make it hard to follow.
On some of my slides, I use bullet points. On others, I include one main point on the slide.
Engaging photos are great to use in your course lessons. It keeps your audience focused on what you’re teaching and they’re visually appealing.
On my slides, I also combine text and images. This is a great way to convey your point and to keep your presentation visually engaging.
Don’t forget to download your free template which also comes with a training video!
Day 4: Record Your Course Videos
When you’re ready to record your course videos, here are the tools you’ll need:
1. Your presentation slides
2. Microphone
3. Webcam (if you want to record a face to camera video)
4. Zoom
For your microphone, I recommend a Blue Snowball. You can get studio quality audio and I even use it for my podcast recordings.
Zoom is my favorite tool for recording my course videos. In fact, I use it for my client meetings, group coaching sessions, and recording my podcast episodes!
Zoom has a free version that you can to record your slides.
Day 5: Host Your Course Content
Before I begin here, I want to mention that the success of your online course is not dependent upon your online course platform.
Now, a lot of entrepreneurs believe this is the most important decision they will make and may get stuck in decision paralysis.
The online course platform market is saturated and there are many providers to choose form so it’s no wonder that someone may get overwhelmed.
Let me keep it simple for you.
You have two main options for delivering your online course content:
Your own website
Course platform
Your Wordpress Site
One option is to host on your own Wordpress site. Some pros of this approach – It’s cheaper and you have more control over the customization (although sometimes this is a bad thing!). However, you need to have some technical expertise or be prepared to outsource.
I would suggest that you use a Wordpress plug-in if you’re a do-it-yourself type of person and you want to save money and have control.
Also, for this option, you’ll need other integration tools such as a place to host your videos (e.g. Vimeo) and course files (e.g. Amazon S3).
Course Platform
There are many benefits to using a course platform. Using their platform, you can simply upload your course content including videos, workbooks, cheat sheets and any supplemental material that you’ve created for your online course.
They also have built in payment processing so once someone purchases your course, they have access immediately or at the date you designate.
Some of them offer affiliate marketing capabilities which makes it super easy to run an affiliate program to sell your online course.
There are also options in the market to host your entire website presence including your blog, sales funnel landing pages, and email marketing.
It’s easy to get stuck on this decision and you can get sidetracked by analysis paralysis.
While this is an important decision – it’s not a final decision.
For some reason, if you aren’t happy with your decision or you outgrow your online course platform, you can always migrate to a different platform in the future. I’ve seen major online course owners with thousands of students successfully migrate their courses with ease.
Day 6: Name Your Mini Course
Now it’s time to name your course. You want to give your course a name that sells but know that your sales funnel will be the key driver of selling your online course.
If you're stuck, consider these easy naming conventions:
(your content) Lab/School/University/Academy/Institute
(the result you are promising) in X days
(the content) for (your target market)
(your steps) formula/system/blueprint for (the result)
Rock it With x
How to create X that gets x
Beginners/Advanced Guide to x
DIY X
The Ultimate Guide to x
Let’s assume that your mini course teaches people the basics of how to set up their website with Squarespace. Based on the examples above, here are some possible names for your course:
Squarespace Lab
Create a Squarespace Website (in a weekend)
Squarespace Website for Wedding Photographers
5 Short Steps to Create Your Beautiful Squarespace Website
Rock it With Squarespace
DIY Squarespace
How to Create a Squarespace Website that Converts Browsers into Clients
Beginner’s Guide to Squarespace
The Ultimate Guide to Squarespace
Day 7: Price Your Mini Course
If you’re having difficulty pricing your online course, then you’re not alone. Pricing your online course can be one of the hardest decisions to make.
The general price points for mini courses (aka tiny offers or starter courses) range from $27 - $47 for the B2B market (when you're marketing to businesses) and around $7 - $27 for the B2C market (when you're targeting consumers).
You can still price a mini course at $97 and it can sell like hotcakes!
Consider the following:
Did you intend on using it more as a lead magnet to gain instant customers?
Did you plan to use it as a tripwire or sell it directly from a Facebook ad?
If so, it needs to be priced accordingly.
Any questions about creating your mini-course? DM me on Instagram @destinicopp.
Pin this and save for later
